No-Till Gardening: If You Love Your Soil, Ditch the Tiller
- Gardening Expert and Host of Growing a Greener World®July 10, 2017
Tillers seem to be that go-to tool we’ve always used for what it was made to do – break up the earth. We till to clear a plot to start a garden, turn weeds under, or just mix up the soil.
But is tilling really the best way to get your soil in shape? While it might be the easiest and fastest way to start, it’s NOT the best way. No-till gardening is where it’s at. If you love your soil, ditch the tiller!
To understand why no-till gardening is the best thing we can do to prepare and maintain an area for planting (and fewer weeds), we need first to understand the consequences of tilling.
How to Prepare a No-Till Garden
The Problems with Tilling
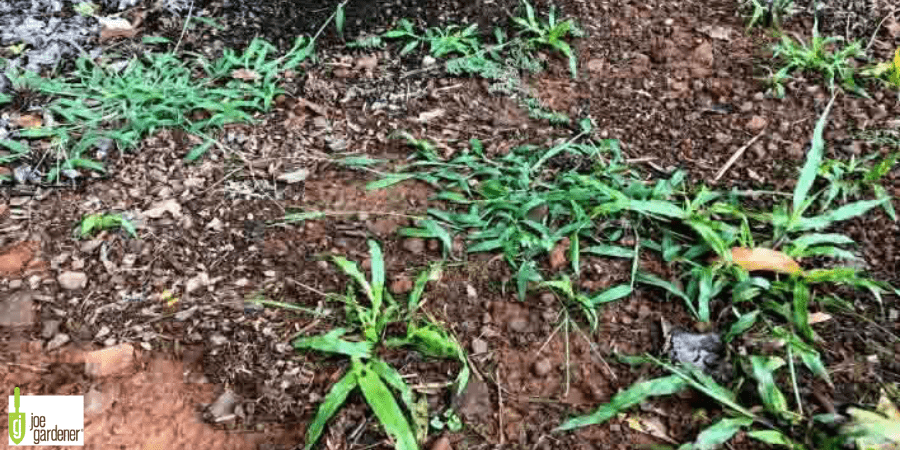
THOUSANDS OF WEED SEEDS ARE BROUGHT TO THE SURFACE. Seeds that were buried and dormant due to a lack of sunlight are brought to the surface and exposed to the light of day. Ironically, we often till to turn under existing weeds. But in the process, we’re bringing up thousands more to take their place.
SOIL INTEGRITY IS DESTROYED. When tiller tines tear into the soil, they destroy nature’s infrastructure to a healthy soil food web. The undisturbed soil consists of a network of billions of beneficial organisms from bacteria and fungi, nematodes, arthropods and insects, and of course earthworms. Collectively they form a thriving, nutrient-rich, yet fragile ecosystem.
PROPERTIES THAT CREATE SOIL DRAINAGE, MOISTURE RETENTION AND AERATION ARE ELIMINATED. In a healthy (undisturbed) soil food web, material that helps soil particles bind together to improve aeration, water holding capacity, and drainage is created. Tilling destroys all of that.
SOIL NUTRIENTS ARE LOST. As the rapidly turning tines mix up soil like a blender, much of the stored carbon and nitrogen is quickly eliminated. The rapid introduction of oxygen sets off a process where sequestered carbon is lost and valuable nitrogen is consumed in the process. The post-tilled soil is far less nutrient rich than before.
No-Till Gardening is the Soil-loving, Weed-hater’s Alternative to Tilling
In a no-till garden, we still have the same objectives: a garden with fewer weeds, improved soil, and continued improvement.
But in a no-till scenario, nature does the soil prep for you. The key though is that it takes more time initially. Ideally, you want to plan ahead, at least by a season. That’s enough time to allow nature to prepare the top surface for planting. From then on it only gets better and better after that.
How to Prepare a New Plot Using the No-till Method
1. SMOTHER THE AREA DESIGNATED FOR PLANTING
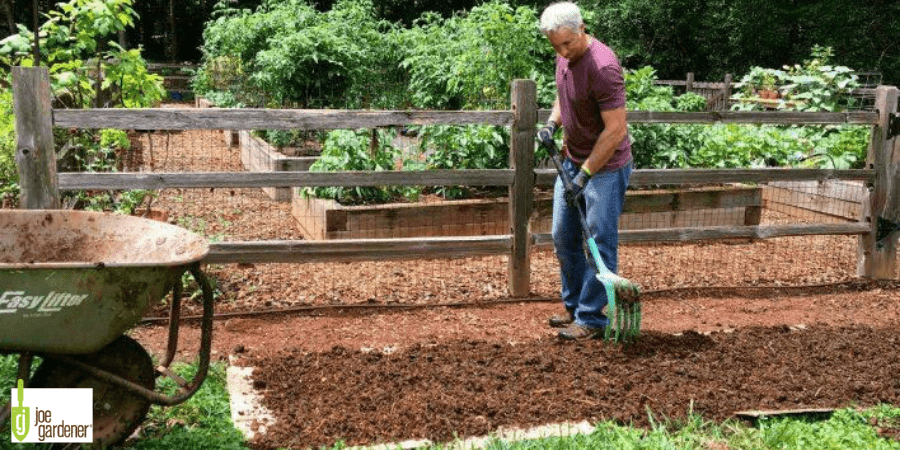
This will kill the grass and weeds beneath and soften the area for planting later. Newspaper (5-10 sheets thick) is a common material used for the base smother level. However, if you choose this option, just be sure to come in behind it quickly with something to weigh it down. Compost, wood chips or even spraying it with water will help keep it from blowing away as you lay out this first course. As an alternative to newspaper, I prefer cardboard. It’s just as available and easier to work with. Plus, over time, it completely breaks down, and I think provides a better smothering base.
2. ADD LAYERS OF ORGANIC MATERIAL ABOVE THE CARDBOARD OR PAPER
You want something that will break down rather quickly. Rotted leaves, aged manure, compost or straw are all good options. Ideally, a mix of several of these options is even better. While you could stop here, I add one more layer of shredded wood chips. It adds some bulk and weight and will ultimately break down to improve the soil even more.
3. ADD OPTIONAL SUPPLEMENTAL NUTRIENTS
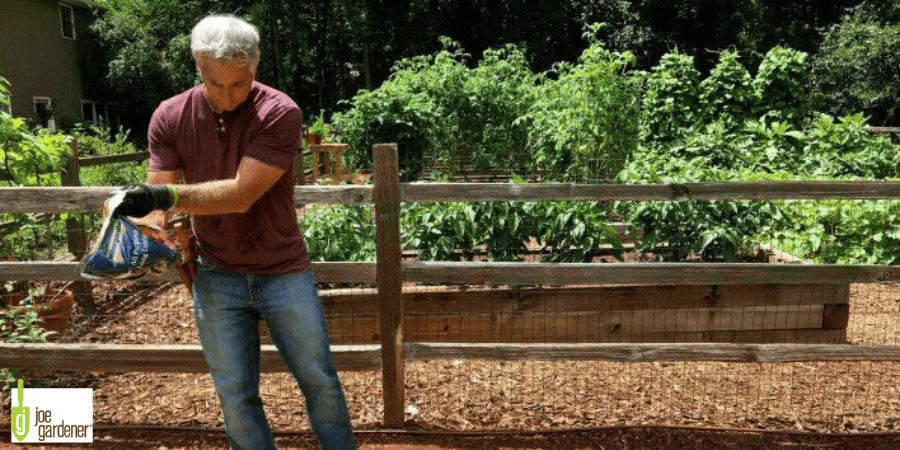
I use an organic nitrogen source (MILORGANITE) to help all this material breakdown quicker while adding another nutrient source into the soil.
4. GENEROUSLY SPRAY EVERYTHING DOWN WITH WATER
Consistent moisture will be key to steady decomposition, and there’s no reason to delay the process.
Once all organic material is in place, strive for at least a 6-inch mound above ground. In a matter of months, if you keep it moist, everything that you’ve added will break down and integrate into the soil. It will also serve as the first new, nutrient rich plantable layer. Then, simply pull away just enough material where you want to sow your seeds or plant your seedlings.
The beauty of the no-till gardening method is that unlike tilling, dormant weed seeds are covered deeper and deeper as you continue to add a new layer or two of organic matter every year. Ultimately, you have an incredibly spongy layer of soil rich in nutrients and beneficial organisms that are the perfect environment for roots to grow into and easily expand.
The added benefit of a mulch layer is that it helps protect the soil surface, drastically reducing the risk of soil erosion and runoff while improving water infiltration and moisture holding capacity.
In the off–season, as an alternative to mulch, you could plant cover crops as a living mulch layer. Also known as green manures, cover crops add nutrients to the soil and improve soil compaction, aeration, and drainage, while still protecting the surface.
In subsequent seasons, continue to add a generous layer of organic materials or cover crops as listed above, once or twice each year. I add a one-inch layer of compost just before planting my summer crops and again right before the fall plants or seeds go in the ground.
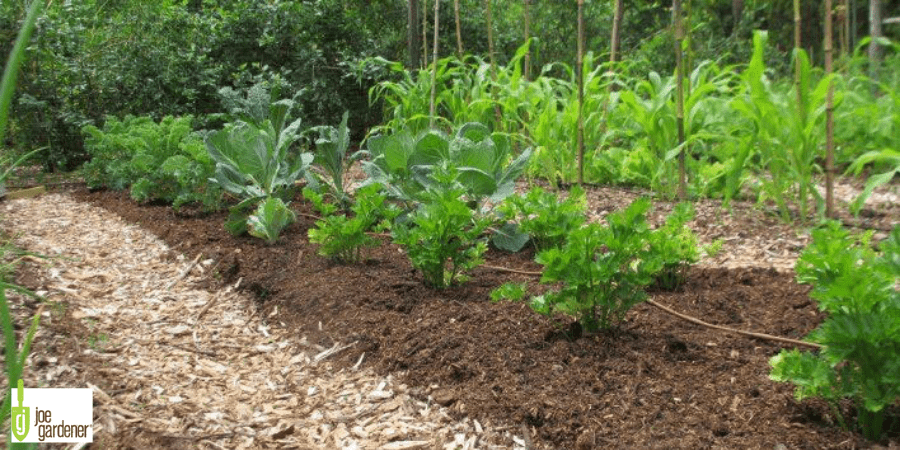
And one final yet very important point in creating the amazing soil that no-till gardens provide. Restrict foot and cart traffic to designated pathways only. One of the best benefits of no-till soil is the sponginess that is created over time for plant roots to grow and thrive. But that assumes that foot traffic or otherwise is never compacting it.
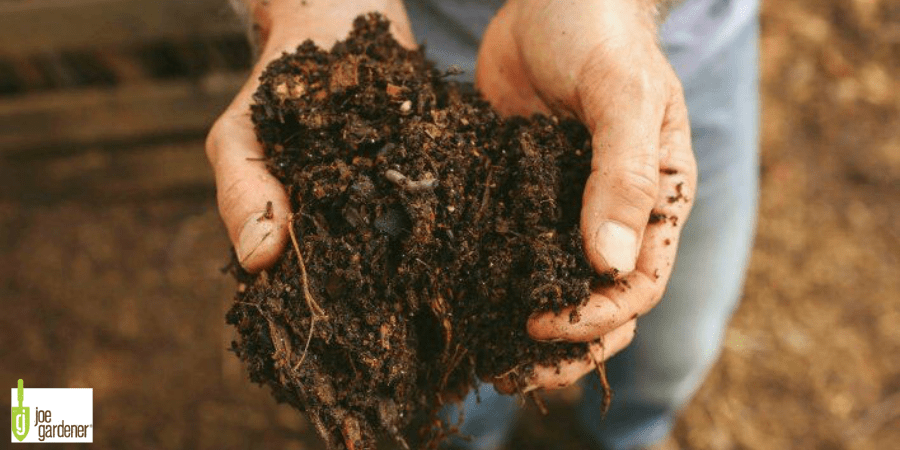
The true benefits and full potential of no-till soil won’t be realized until a couple of years into the process. But anything worth having is worth waiting for, and that is certainly the case for the type of soil that only gets better over time in a no-till soil environment.
Watch Joe's video on how to make a no-till garden.

